How to configure a wired or wifi connection for your external Windows Web media player?
This guide explains how you can configure a wired or wifi connection for your external Windows Web based media player (HP Thin Client). For this guide you need a mouse and keyboard with USB connection.
1. Connect mouse and keyboard to the player via USB.
2. Press the ‚c‘ key on the keyboard to open the player configuration menu.
3. If you do not see the mouse cursor, you can visualize it by using the following keys combination: CTRL – SHIFT – ALT – M
4. Check the box ‚Automatic settings‘ (DHCP) if you need DHCP.

If you have a wired connection (preferred), continue at step 10
5. (wifi) At the drop down box ‚Network adapter‚ select your Wi-Fi card.
6. (wifi) There appears an extra tab ‚Wireless Settings‚.
7. (wifi) Select the Wireless Settings tab
8. (wifi) Click on Select Network and choose your wifi network.
9. (wifi) Enter your network key (password)

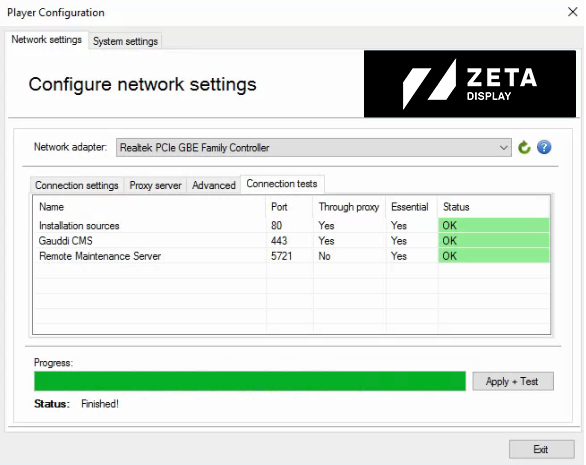
10. Click on Apply + Test to check the connection.
11. All tests should return OK.
12. If one or more fail, try Apply + test again.
13. If one ore more fail again, please make sure the failed network port is open for outbound traffic.
14. Click Exit to close the Player Configuration.